
Image mouseovers should be easy to do, but if you are using the WordPress Gutenberg editor this doesn’t come easy. Howver, this can be done using the interface only with very little css code. But let’s see first what we want to accomplish: on mouseover, replace the black and white cat image with a color image as in this example:
What do you need to change the image on hover in WordPress Gutenberg
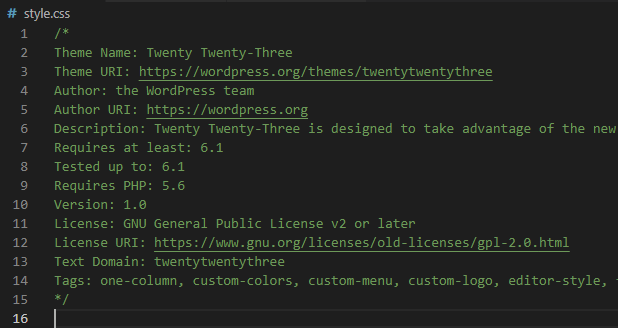
First, we need to make sure we have access to a css file, as the newer themes (like Twenty Twenty Three) while they come with a style CSS file its not actually holding any css and it’s not included in the page:
 So first thin would be to actually include a css page. (if your theme is already reading the css from a style file you can skip this step. To do this we should use the usual add_action ‘wp_enqueue_scripts’. Nothing fancy, we verify if the dorobu_styles is already used, if not, we wp_register_style and add a version after the name to make sure we do an automatic cache update for the css file on each page refresh.
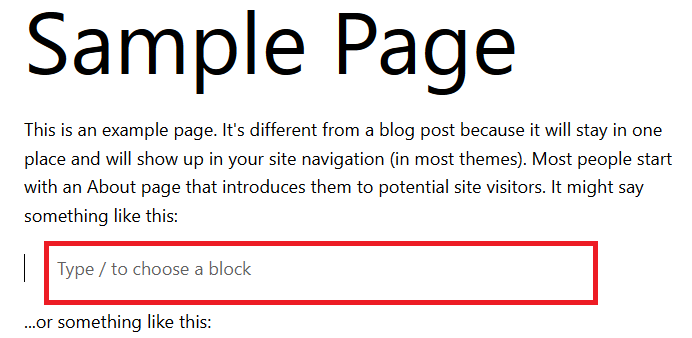
Once we did this, we are ready to go. Let’s discuss the principles first: to change the image on mouseover, we need to have 2 images on top of each other. One as a background and one as a regular image. Then,on mouseover, we set the opacity of the second image (the one that sits on top of the background) to 0; In WordPress Gutenberg this actually means it can be done from the interface, and we only need a bit of generic CSS to set the opacity to 0 on mouseover: we set the background image as a Cover block and inside we put the top image. We start from this clean page and we want to make the image mouseover in the red rectangle:
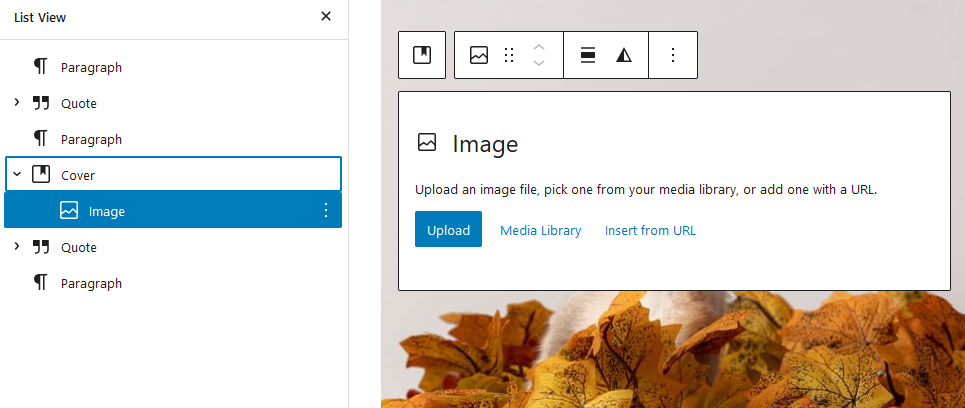
Adding the Gutenberg Cover Block
Start by adding a cover block. Click on add new block, search for cover and move it where you need it in the page. Next, upload the Cover image (which is going to be the background image, the one that appears when the mouse if over the image).
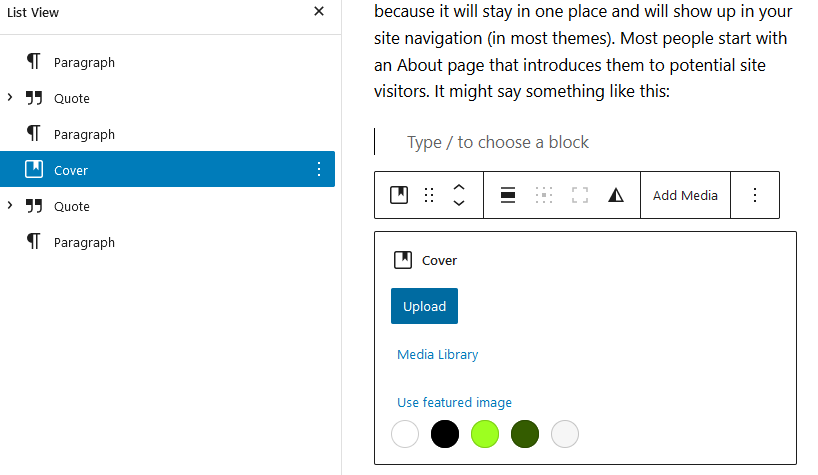
Once the cover image is uploaded, you need to do 2 things: from the left sidebar remove the paragraph:
 and from the right sidebar, set the Cover opacity to 0 (default is 50).
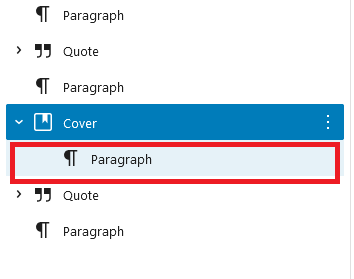
 Adding an image on top of the Cover block in Gutenberg

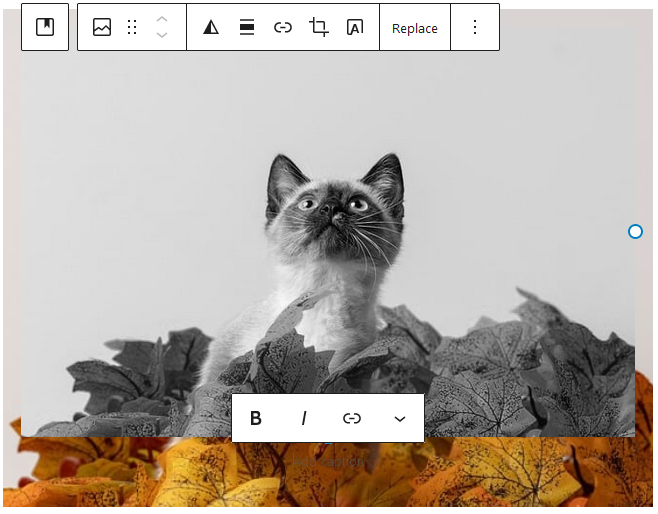
Now that we are done with the cover image, we should add the image on top. To do this, add an image block inside the cover block – click on upload, and add an image with the same size.
Chances are that the image you have placed on top of the cover will not fit perfectly over the cover image because of the default styling of the block elements. As you can see, the image seems to be smaller and not aligned although both images have exactly the same dimensions.
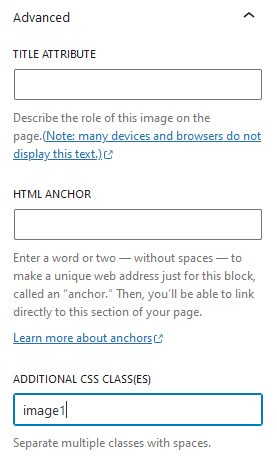
 It’s time to apply the custom css. To do this, you should add a class to the second image, let’s say image1. Go to the right sidebar, click on Advanced and add the class name in the Additional CSS Classes field:
 We now can add a bit of CSS to make things right:
- resetting any margins the second image might have
| .image1 { |
| margin:0 !important; |
}
- as the cover images stretches to the full width of the container,because this is what cover images do), we make sure the second image also takes up the entire space
.image1 img{
width:100%;
height:auto;
}
- and the final thing, we make the second image disappear on mouse over with opacity:0
.image1 img:hover{
opacity: 0;
}