In this tutorial I will show you how easy is to create posts that are restricted to the general public and only available for users belonging to a specific category. To do this, we need 3 things:
- a way to mark a post as being available to a specific category of users
- a way to create the special users category
- restrict the content view
The easiest way to do this is by using the Members plugin by Justin Tadlock.
Installing the Members plugin
To install the Members plugin:
- download the Members plugin from here.
- upload the Members plugin to the /wp-content/plugins/ directory
- Go to the plugins menu:

- Activate the Members plugin

Using the Members plugin
The Members plugin is relatively simple to use. First thing is to activate the plugin components that you are actually going to use (the plugin comes with more capabilities and you can select which ones you want to use). Go to the settings menu and click on the “Members components” 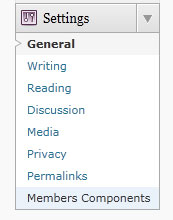 Enable the features you are planning to use. Each feature is described, if you are not sure which ones you need, enable them all:
 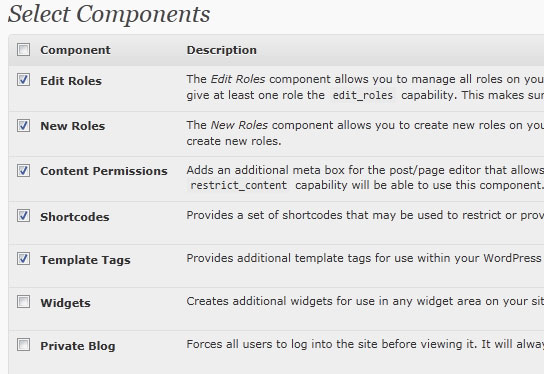 As soon as you have enabled some features, you need to assign the capabilities to an existent role. Go to the Users menu and click on the “Roles” tab.
 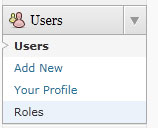 Assuming you want to give the new capabilities to the administrator role, click on the “administrator” link
  Add the new capabilities to the administrator role. For example: “edit roles”, “delete roles”, “create_roles”, and most importantly “restrict content”
 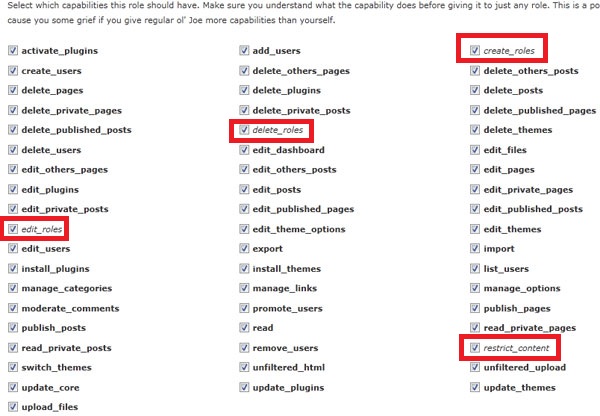 With the “restrict content” capability assigned, you can already mark posts as being restricted to certain user types.
Creating a new user role
If you don’t want to make the content available to one of the standard WordPress roles, you can create a new role, then assign the right to view content to that role in the post editing page. To create a new user role, go to the Users tab and select the “New Role” page.  In the new window, create a new role and assign a label to the new role:
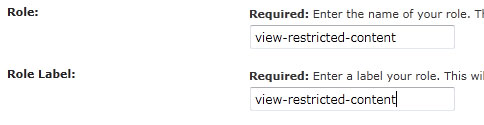
Creating restricted content
Creating restricted content is very easy. Go to edit/add new post and below the editor you will see now the list of user roles where you can select which roles have the right to view the content.  Here is what a regular user will see in the front-end:
Testing that the special users are able to see the restricted content
Right now, you know that the content is not available to regular users, but is it available to the users that are supposed to view the content? To check this, let’s create a new user and assign it the special role you have created earlier.  Logout and login as the special user:
 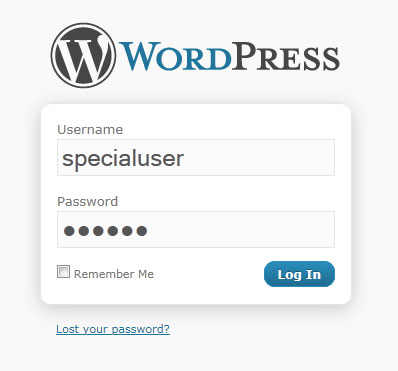 Go to the front-end, and voila! The restricted content is available for you!