Sometimes you might need to copy a live WordPress site from the server to your local Windows PC to do some tweaking for a client. In this tutorial I will show all the necessary steps to copy the WordPress installation and make notes on things that might go bad along the way. I assume you already have Apache, PHP and MySQL installed (if not, you can have a look at Wamp)
Start by doing a WordPress migration plan
What happens most of the time is that people jump directly at copying the files and database then spend time wondering why the WordPress install is not running locally. I start by doing a migration plan – notes on how things are running on the live site:
- where is wordpress installed? (not all wordpress sites are installed in the site root)
- what is the permalinks structure
- what WordPress version is installed
- what plugins are installed
- where is the uploads folder?
Finding out where WordPress is installed and the permalinks structure before the migration
Finding where is WordPress installed and the permalinks structure is very easy. You should look at the URL and the URL it’s going to tell you everything.
![]()
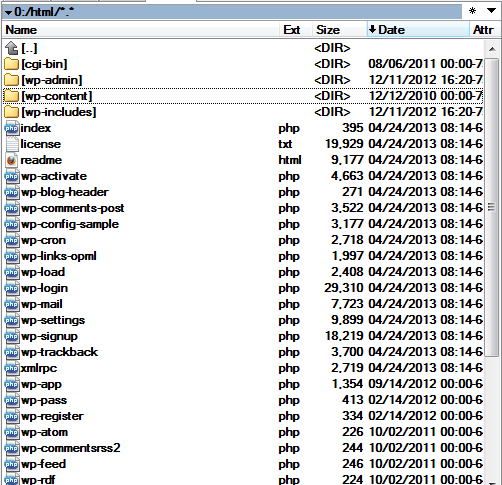
For example the above URL shows me the following things:
- the domain I have to change to https://localhost is energybyte.com
- the WordPress in installed under /blog
- the site uses permalinks based on the name of the post (so there is a htaccess file I have to modify)
Finding out what WordPress version is installed
Knowing what wordpress version is installed is a must. You might think that as the theme and plugins are in a separate folder, you might just copy these from the live server and put them on top of a fresh local install. Well, that’s not true if the live site runs an older version which might break things on update. So the first think to look at in the WordPress admin is the “upgrade to the latest version” notification:
![]()
If the notification is present, then you can have a further look to see how old is the version running on the live server. To do that, after you are logged in the dashboard go to the WordPress logo at the top left, then click on “About WordPress”. The new page will show the real version

What plugins are installed and are these updated?
In the dashboard,go to the plugins menu and find out what plugins are installed and which need updated. Now, really, there is an issue with updating plugins on a WordPress site that was deployed by someone else. You can’t have any clues if the plugins where customized (and updating them will break the site) or they are raw installs from the WordPress.org site. What you can do is to look around for the specific versions of the plugin, download that specific version then do a compare between the raw version and what you have on the live site. You can never be too safe with this!
Migrating the WordPress install from a live server to a local Windows install
1. Copy the files
As explained above, if the site is running an older WordPress version then you might run into troubles if you just copy the theme and plugins and put them over a fresh WordPress. That’s why I usually take my time and download all the files, including the wp-admin and wp-includes folders which in theory should be left un-touched in any WordPress customization. So, in the local locahost folder I create a new folder with the site name, say “energyte” and copy via FTP the wordpress files there. So the new site should be available using the following URL: https://localhost/energybyte
2. Copy the database and import it locally
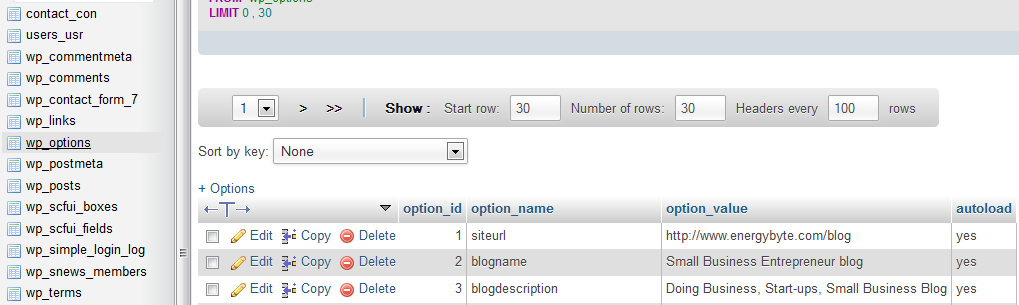
Once the database is imported locally you need to do at least 2 changes: change the siteurl and the home values. Go to the wp_options table and edit the siteurl si home values from https://www.energybyte.com/blog to https://localhost/energybyte (well, this is just an example site, you should replace with your domain)
3. Change the htaccess file to point to the localhost structure
Now, as the live wordpress installation is done in the /blog folder and we know the site is using permalinks from the post title, the htaccess file looks like this:
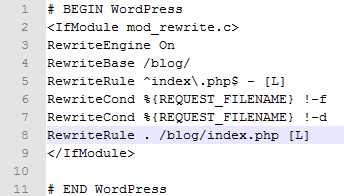
Because the local site is installed in https://localhost/energybyte (meaning in the energybyte folder) we need to change RewriteBase to /energybyte/ and RewriteRule. /energybyte/index.php [L]
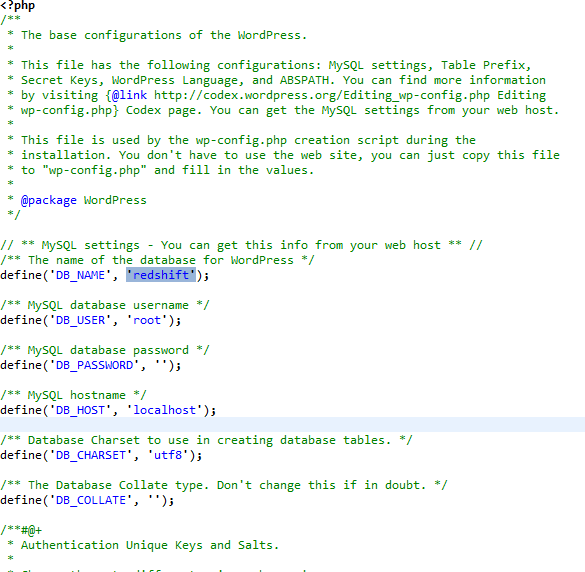
4.Change the connection to the database
One last thing to do is to change the connection to the dabase in the wp-config.php file. Open the file with your preferred editor and change the values to whatever connection details you’re having locally. If you are using wamp, then the user is root and password is empty:
You should be up and running at this time. Open a browser and point it to https://localhost/energybyte
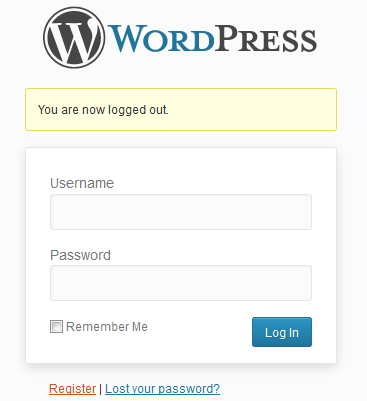
What if you don’t have the wp-admin password?
Sometimes the customer gives you the WordPress files and database by talking with the hosting company and are “afraid” to hand over the username and password to the live site. So in this case, even if you have installed WordPress locally like a charm, you can’t access the dashboard. Using the recovery password feature won’t work as is going to send the recovery details back to the owners.
You can solve this issue 2 ways: you change the admin address email to one of your emails then use the password recovery feature, or create another user and make it admin. If the WordPress settings allow to create a new user from the wp-admin interface, I usually like better creating a separate user (if I import the local database to the live site later I won’t risk having my own email address and password there. So create a new user
Creating a new admin user in WordPress
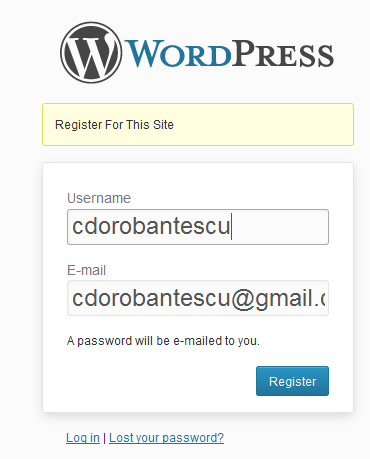
If the WordPress install allows you to register new users, use the following steps to make an admin user:
- go to wp-admin and click on “register”

- Create the new user

- Go to the database and locate the ID of the new user in the wp_users table (in this example ID=12)

- Go to the wp_usermeta table and look for the wp_capabilities row for the column user_id=12 and replace the standard subscriber capabilities with these: a:1:{s:13:”administrator”;b:1;}

You’re good to go!